
Great food content is driven by contrast, The heat of the buffalo sauce versus the cool of the ranch. This buffalo chicken wrap recipe is designed to bridge the gap between "fast food" and "gourmet lunch." We focus on maintaining the crispy fried chicken tenders buffalo sauce texture by using a moisture-locking layering system. From Frank's RedHot buffalo chicken wraps enthusiasts to those seeking low carb buffalo chicken lettuce wraps, this tutorial ensures a high-protein, vibrant meal that is as visually appealing as it is delicious.

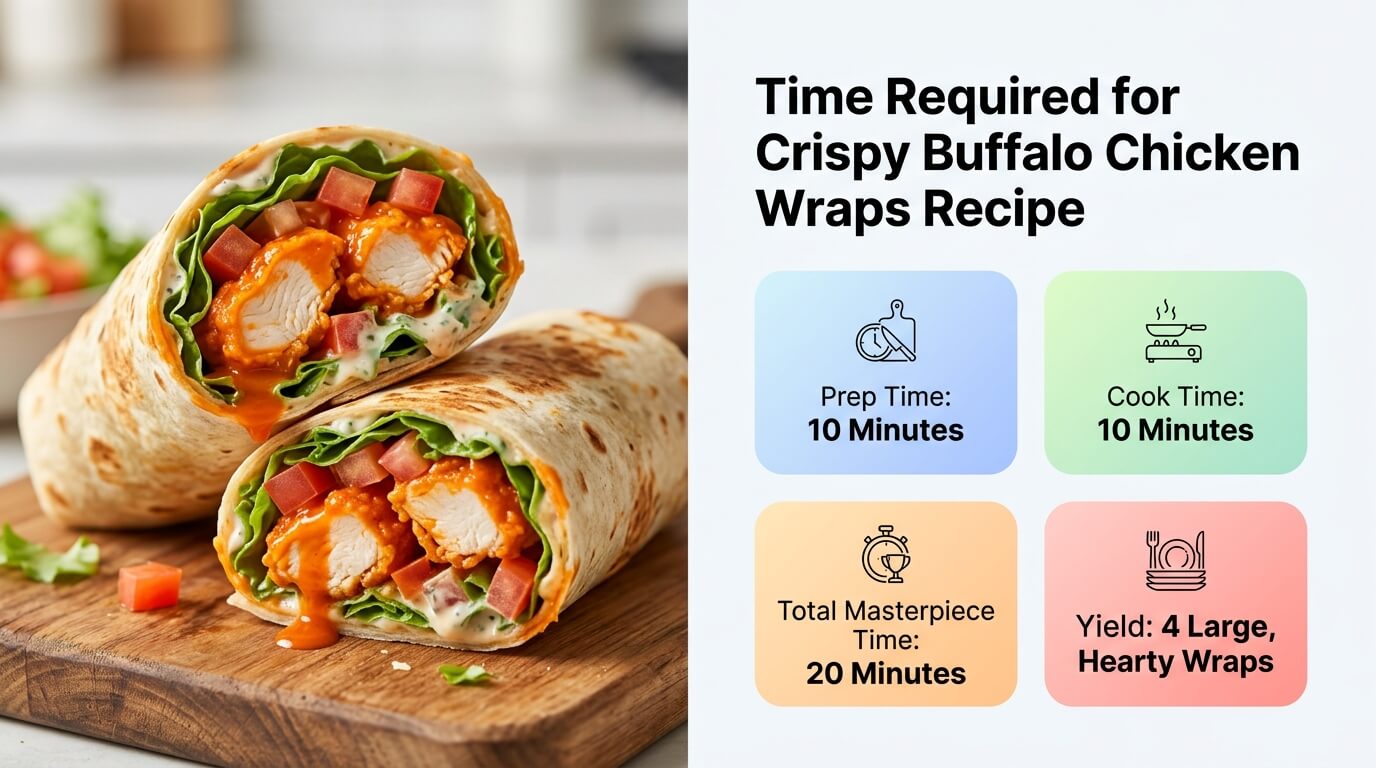
Time Required for Crispy Buffalo Chicken Wraps Recipe
Ingredients for Crispy Buffalo Chicken Wraps Recipe

The Protein: 4/6 crispy fried chicken tenders or shredded rotisserie chicken buffalo wraps style.
The Sauce: 1/4 cup Frank's Red Hot Buffalo Wings Sauce.
The Coolant: 2 tbsp Ranch dressing or buffalo chicken wrap with blue cheese slaw.
The Freshness: 1 cup shredded Romaine lettuce, 1/4 cup diced celery, and shredded carrots (celery carrot crunch).
The Wrapper: 2 Large Flour Tortillas (Burrito size).
The Cheese: 1/4 cup shredded Monterey Jack or blue cheese crumbles.
Equipment Needed for Crispy Buffalo Chicken Wraps Recipe
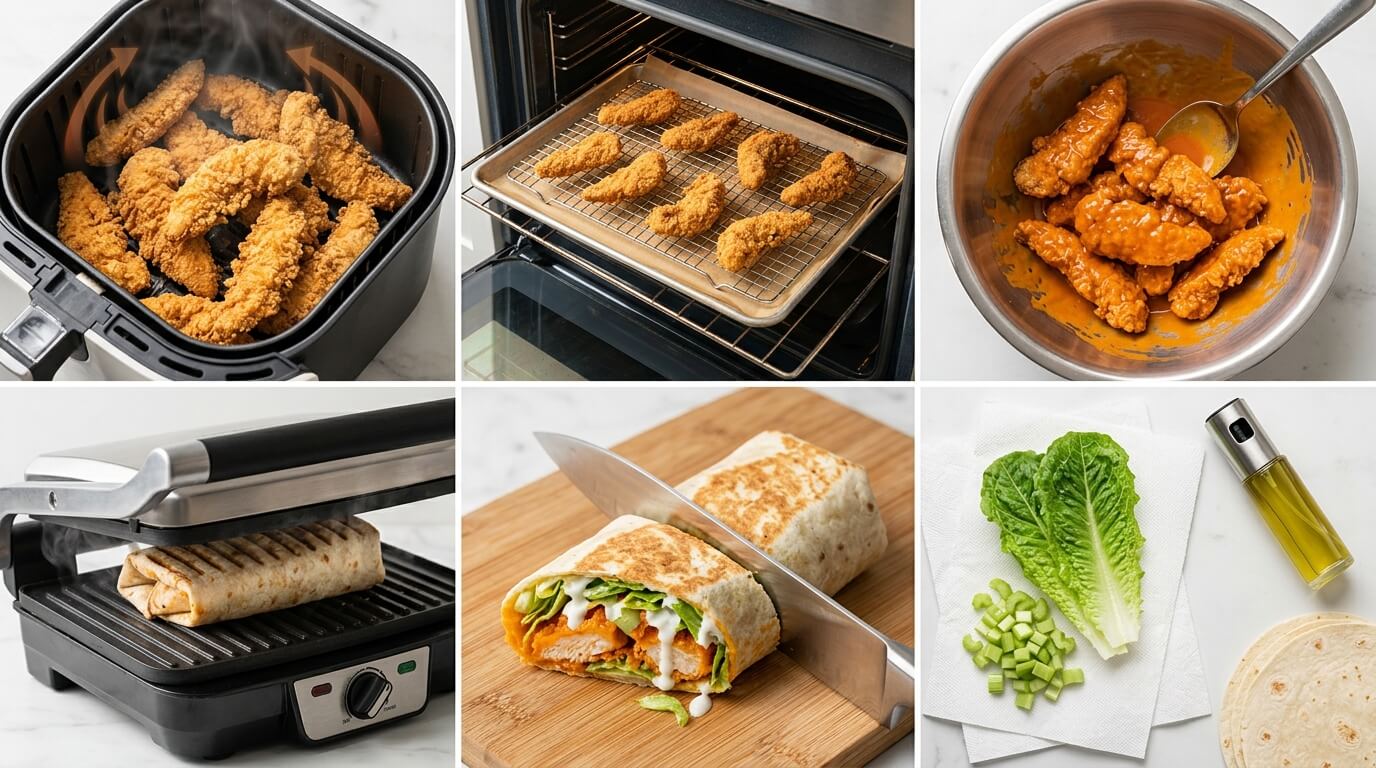
The Crisper: Air Fryer or Oven with Wire Rack
The Air Fryer: This is the gold standard for air fryer crispy buffalo chicken wraps. The rapid circulation of hot air ensures the chicken tenders "shatter" when you bite into them. It’s the fastest way to achieve that restaurant quality finish in under 20 minutes.
The Oven-Baked Alternative: If you don't have an air fryer, use a baking sheet with a fitted wire rack. Placing the chicken on a rack allows heat to circulate underneath the meat, preventing the "soggy bottom" syndrome common with standard baking pans.
The Mixing Bowl: Large Stainless Steel
A large stainless steel bowl allows you to aggressively toss your crispy fried chicken tenders in Frank's RedHot buffalo sauce without breaking the breading off the meat.Metal bowls stay cold or hot longer than plastic. Using a cool metal bowl for your buffalo sauce ranch coleslaw helps keep your vegetables crisp and prevents the lettuce from wilting during the mixing phase.
The Press: Panini Press or Heavy Cast-Iron Skillet
A Panini press provides even pressure and creates those beautiful "Food Art" grill marks.If you don't own a press, a heavy cast-iron skillet is your best friend. The weight of the iron ensures the wrap makes full contact with the heat, creating a "seam-seal" that locks the cheese and chicken inside. Using a second heavy pan to press down on top of the wrap in the skillet mimics the Panini press perfectly.
The Precision Blade: Sharp Chef’s Knife
To showcase the vibrant layers of orange buffalo sauce, green celery, and white ranch, you need a razor-sharp chef’s knife. A dull blade will "smush" the wrap, causing the sauce to leak out and ruining the presentation.One swift, diagonal stroke through the center of the spicy buffalo chicken tortilla wraps creates a professional, "Food Art" look.
The Moisture Shield: Paper Towels & Spray Bottle
Use paper towels to pat your lettuce and celery completely dry after washing. Any excess water will dilute the ranch and lead to a soggy wrap.A light spray of oil on the outside of the tortilla before it hits the skillet will give it a golden brown, flaky texture similar to a chimichanga.
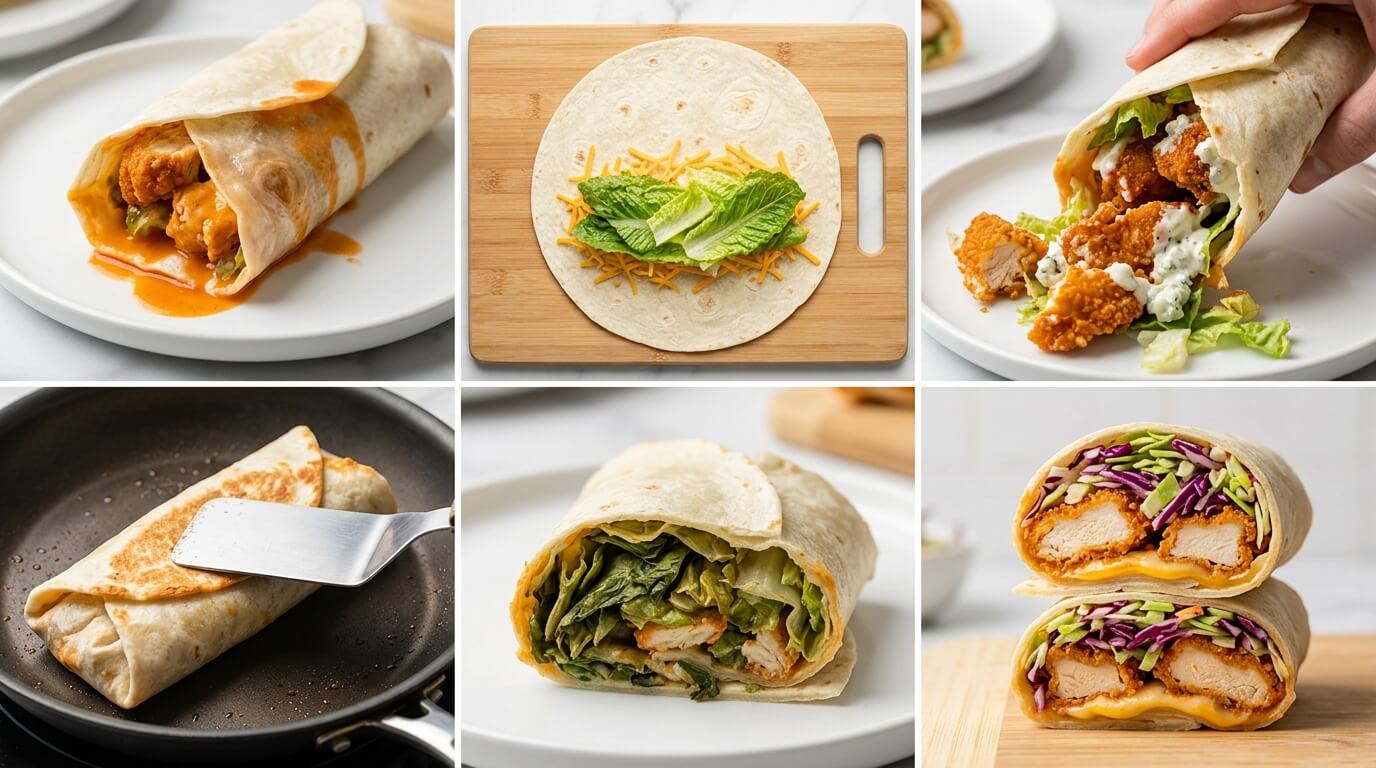
Step by Step Instructions
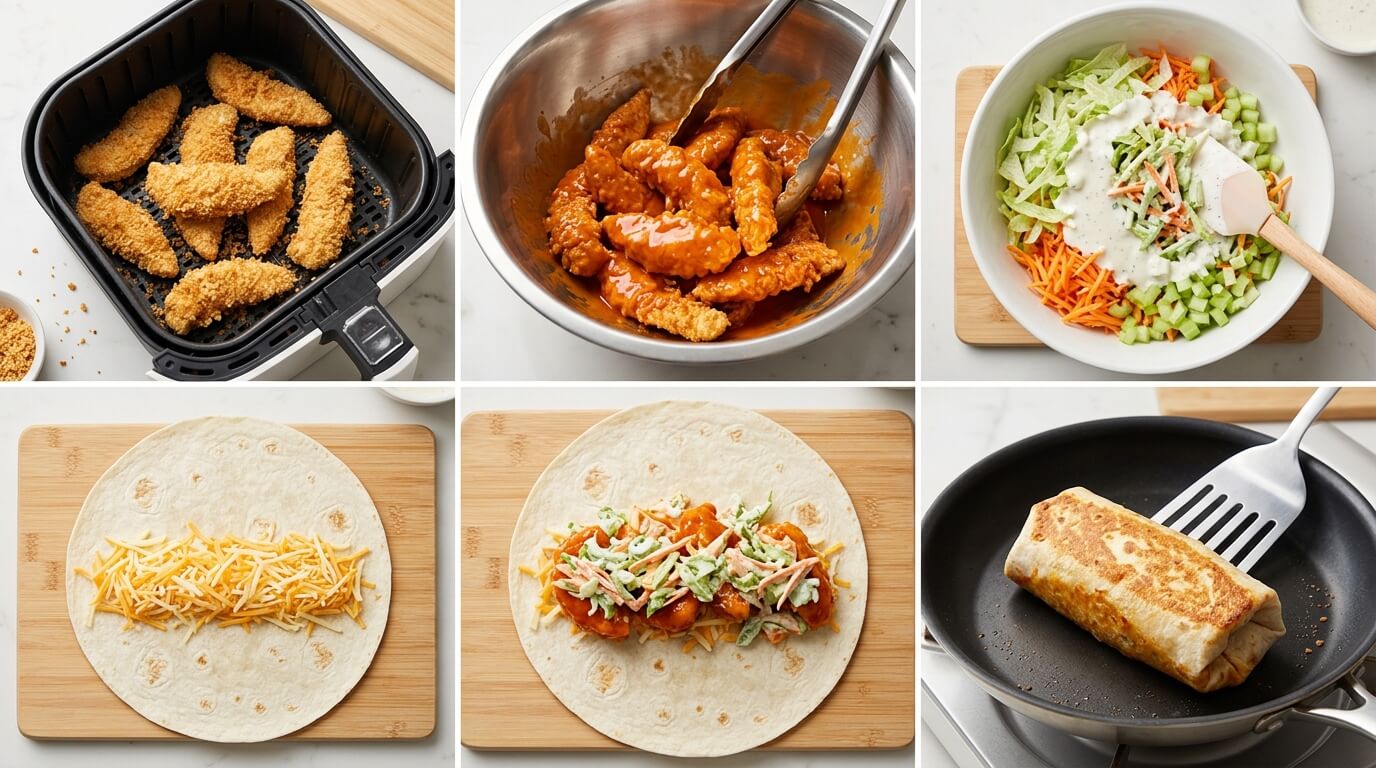
Step 1: The Buffalo Toss
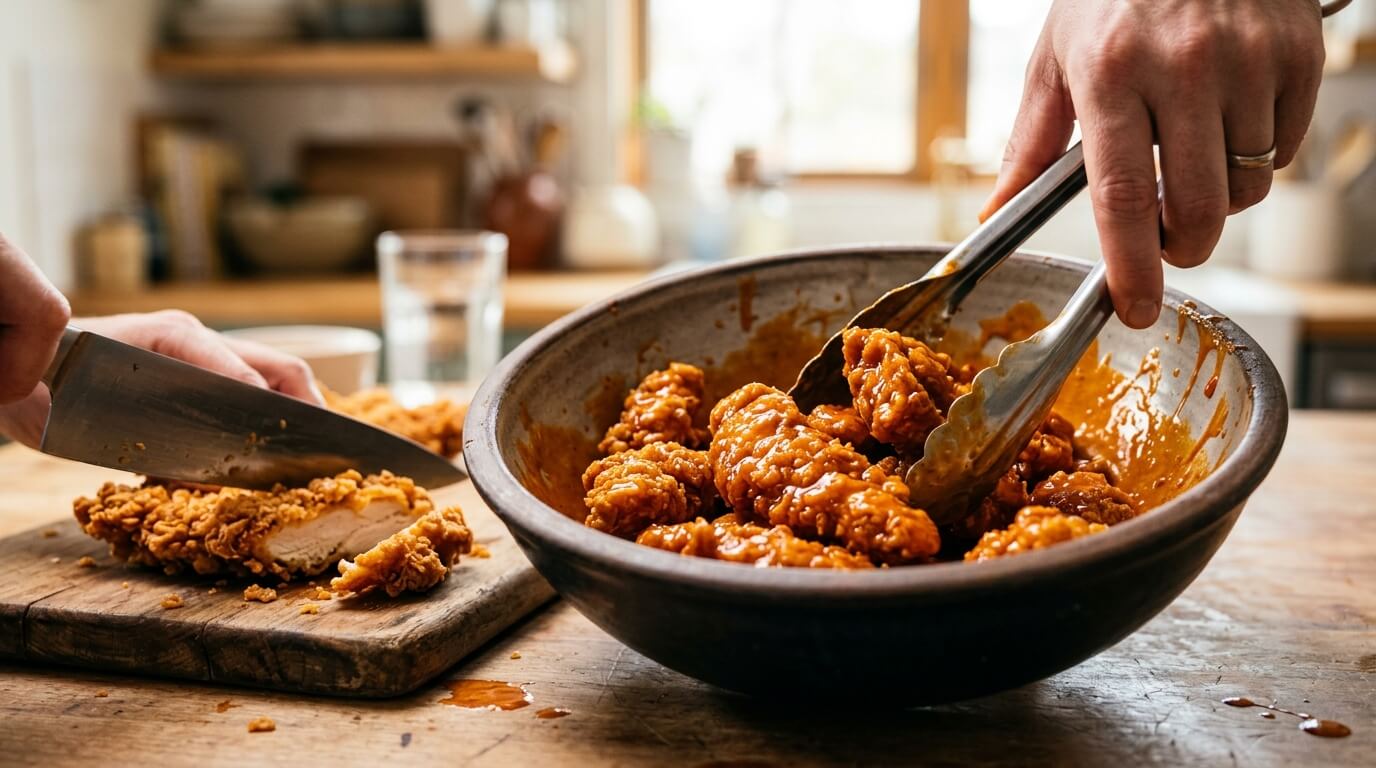
Take your crispy fried chicken tenders and cut them into bite sized pieces. In a bowl, toss them with the buffalo sauce until every piece is coated. If using rotisserie chicken, ensure the meat is warm so it absorbs the sauce better.
Step 2: The Moisture Barrier

Lay your tortilla flat. Spread a thin layer of ranch or blue cheese dressing in the center. The dressing acts as a barrier, preventing the buffalo sauce from soaking directly into the tortilla, keeping the spicy buffalo chicken tortilla wraps from becoming soggy.
Step 3: The "Celery Carrot Crunch" Layer
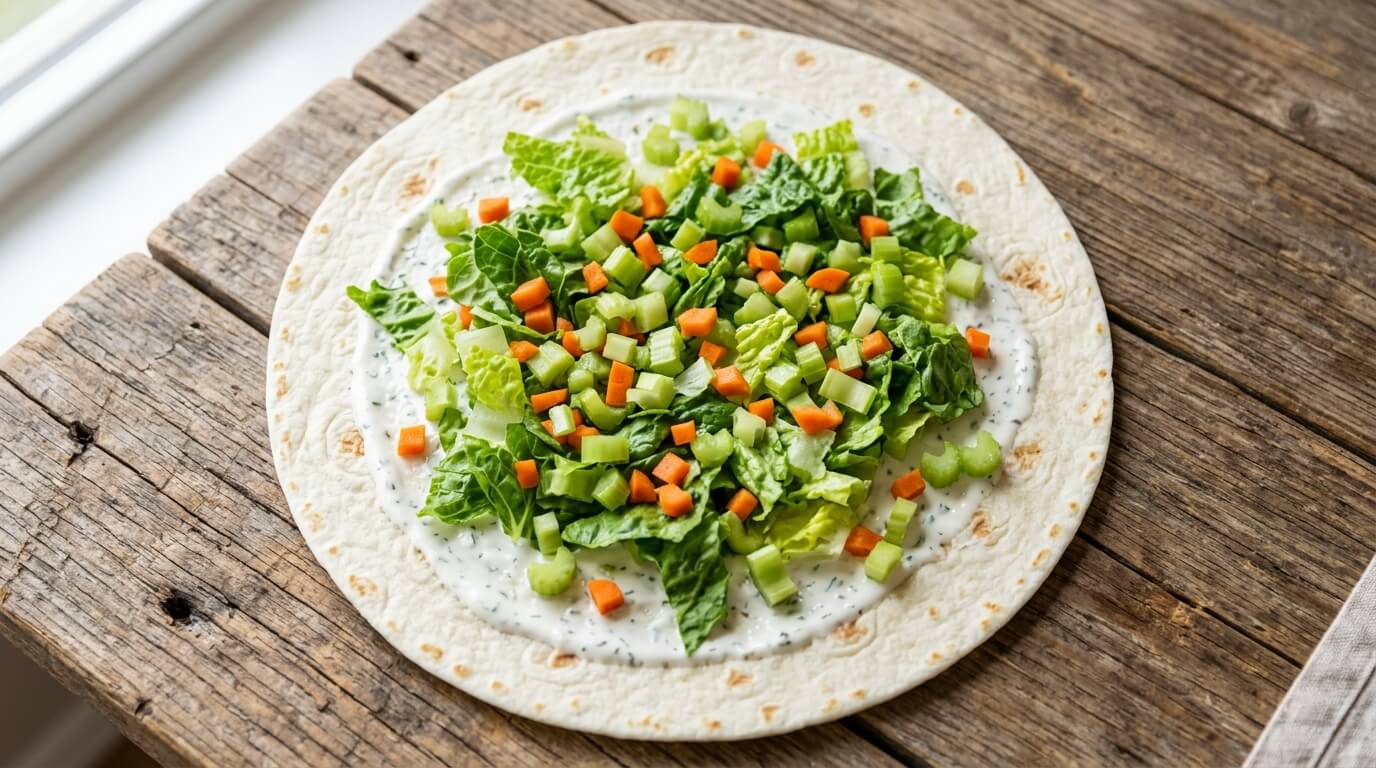
Place a handful of Romaine lettuce, diced celery, and carrots over the dressing. This layer provides the essential structural crunch and mimics the traditional sides served with buffalo wings.
Step 4: The Perfect Assembly
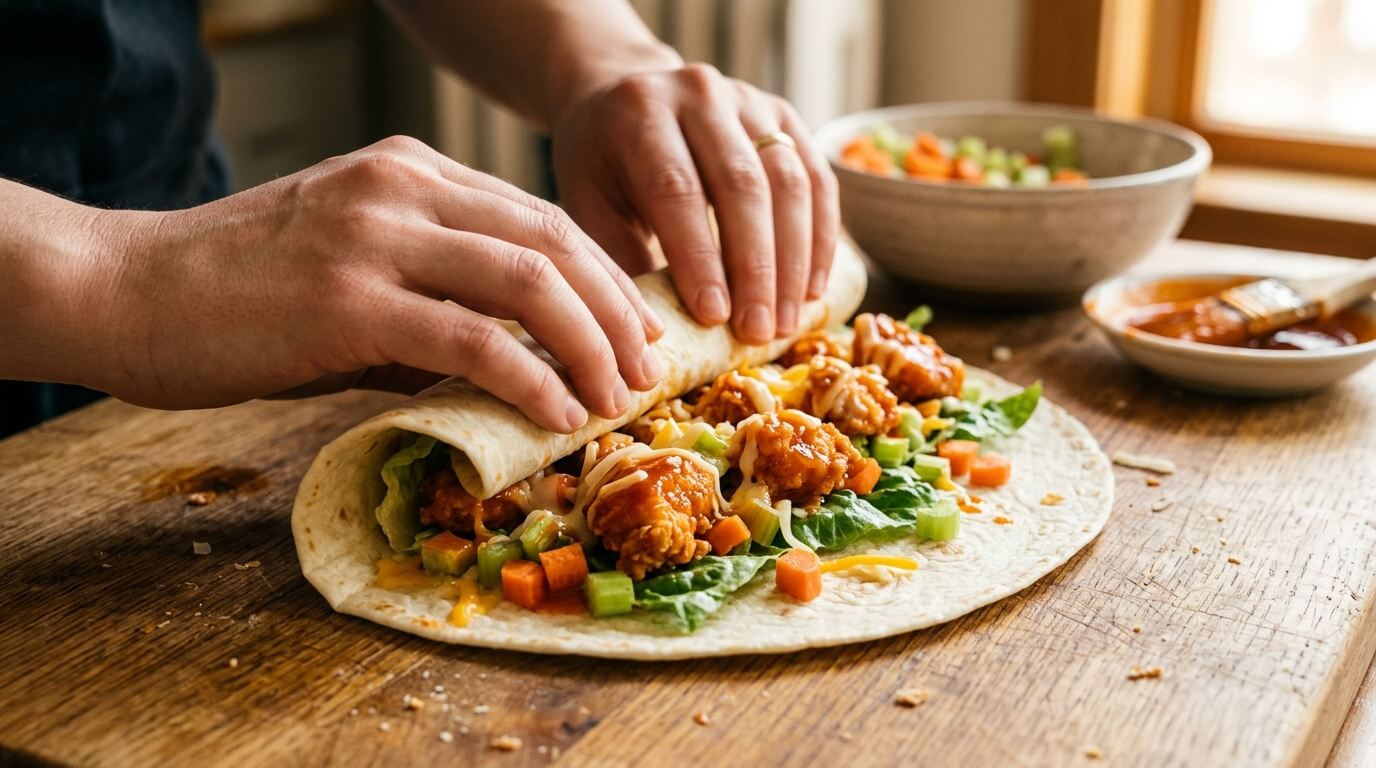
Top the vegetables with your saucy chicken and a sprinkle of cheese. Tuck and Fold the sides of the tortilla inward, then roll from the bottom up, keeping it as tight as possible.
Step 5: The Crispy Sear
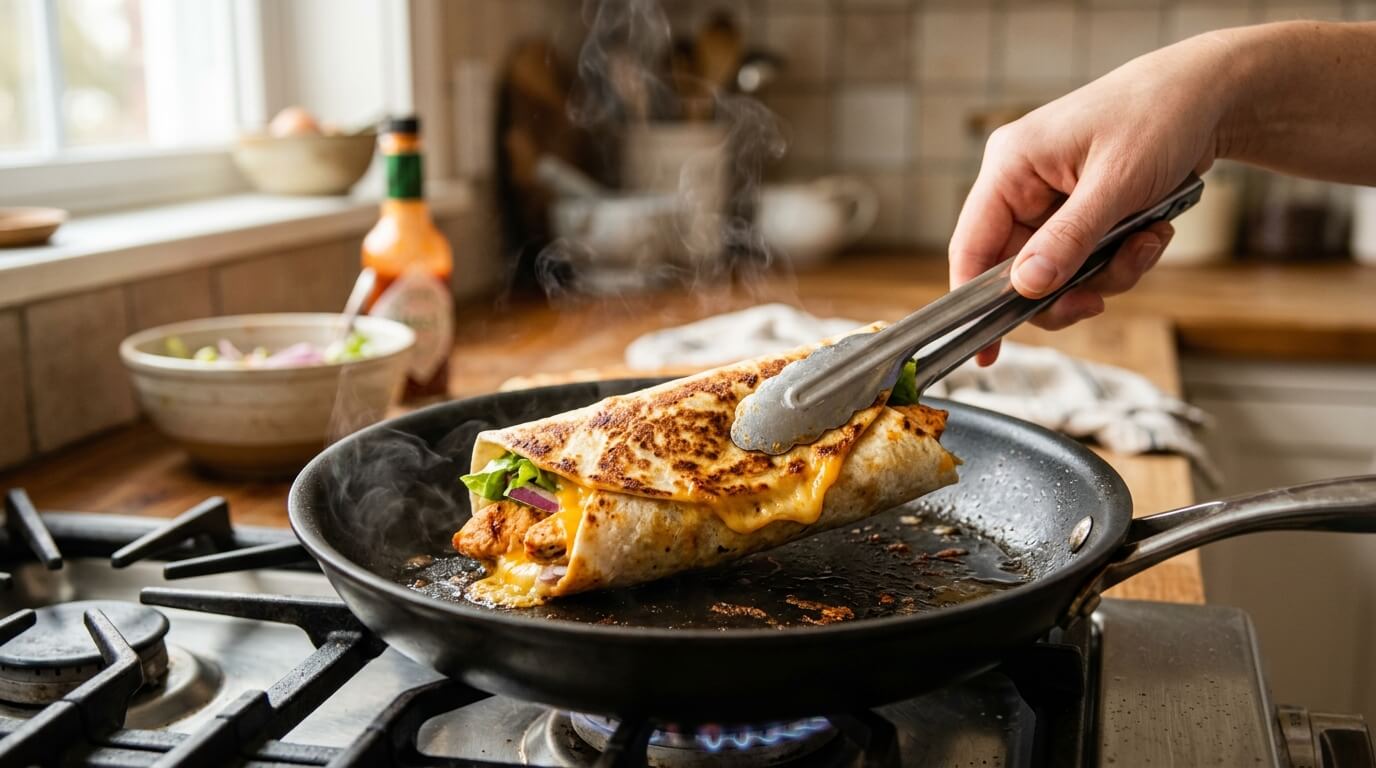
Place the wrap seam-side down in a dry, preheated skillet over medium heat. Sear for 1 or 2 minutes per side until the tortilla is golden brown and the cheese inside has melted. This "locks" the wrap together without needing toothpicks.
Common Mistakes And How to Fix Them
The "Exploding" Wrap: Overfilling the tortilla.
Fix: Leave at least 2 inches of space around the edges to allow for a secure fold.
Soggy Tortilla: Adding too much sauce or letting the wrap sit too long.
Fix: Always sear the wrap immediately after assembly to create a crispy outer shell.
The "One Note" Bite: Forgetting the celery.
Fix: The celery is non-negotiable for that authentic buffalo chicken wrap flavor profile.
How to Serve & Present Crispy Buffalo Chicken Wraps
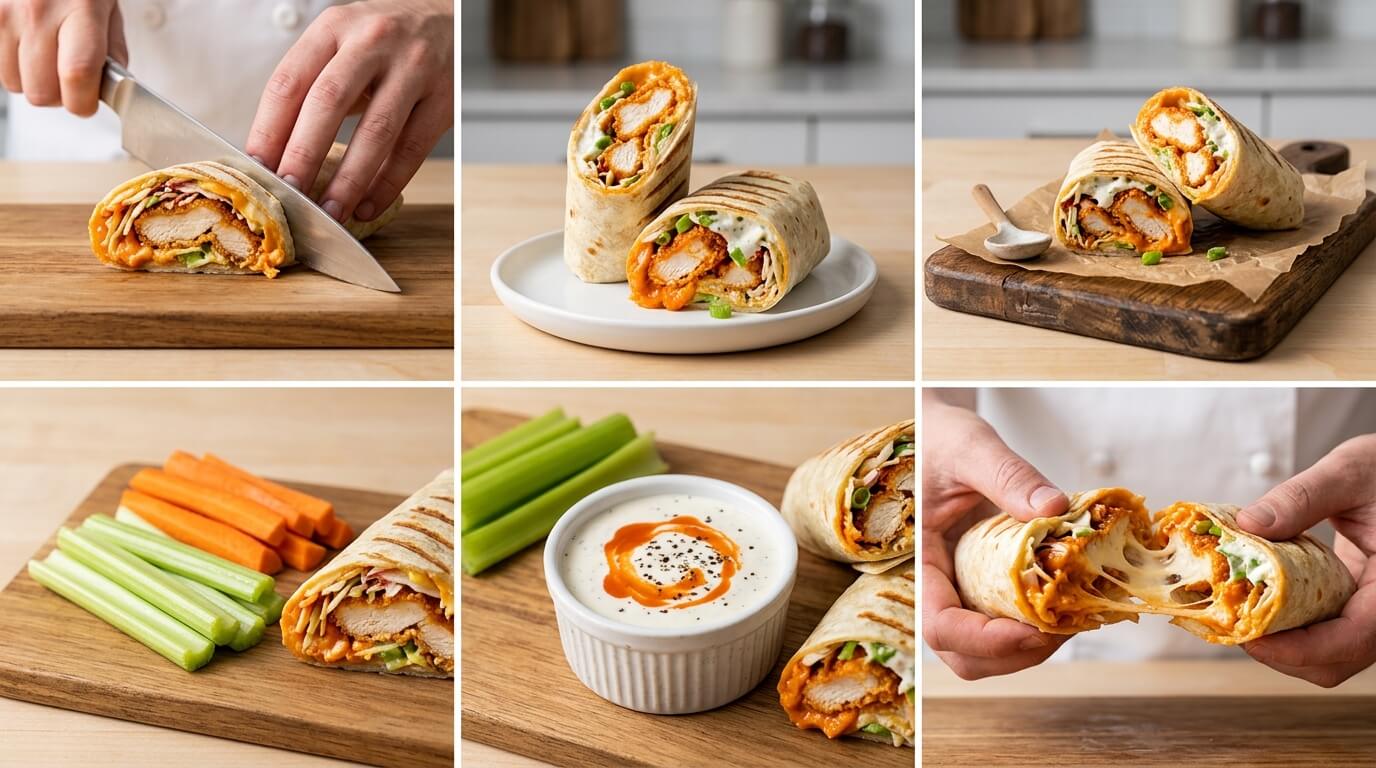
The Diagonal Cut: Use a sharp knife to slice the wrap diagonally. This reveals the colorful "Food Art" layers of orange chicken, white ranch, and green lettuce.
The Dipping Station: Serve with extra buffalo sauce and ranch on the side for those who want an extra kick.
The Game Day Platter: Arrange wraps on a wooden board with extra celery sticks and carrot curls for a game day buffalo chicken wraps aesthetic.
Best Add-Ins for Crispy Buffalo Chicken Wraps Recipe
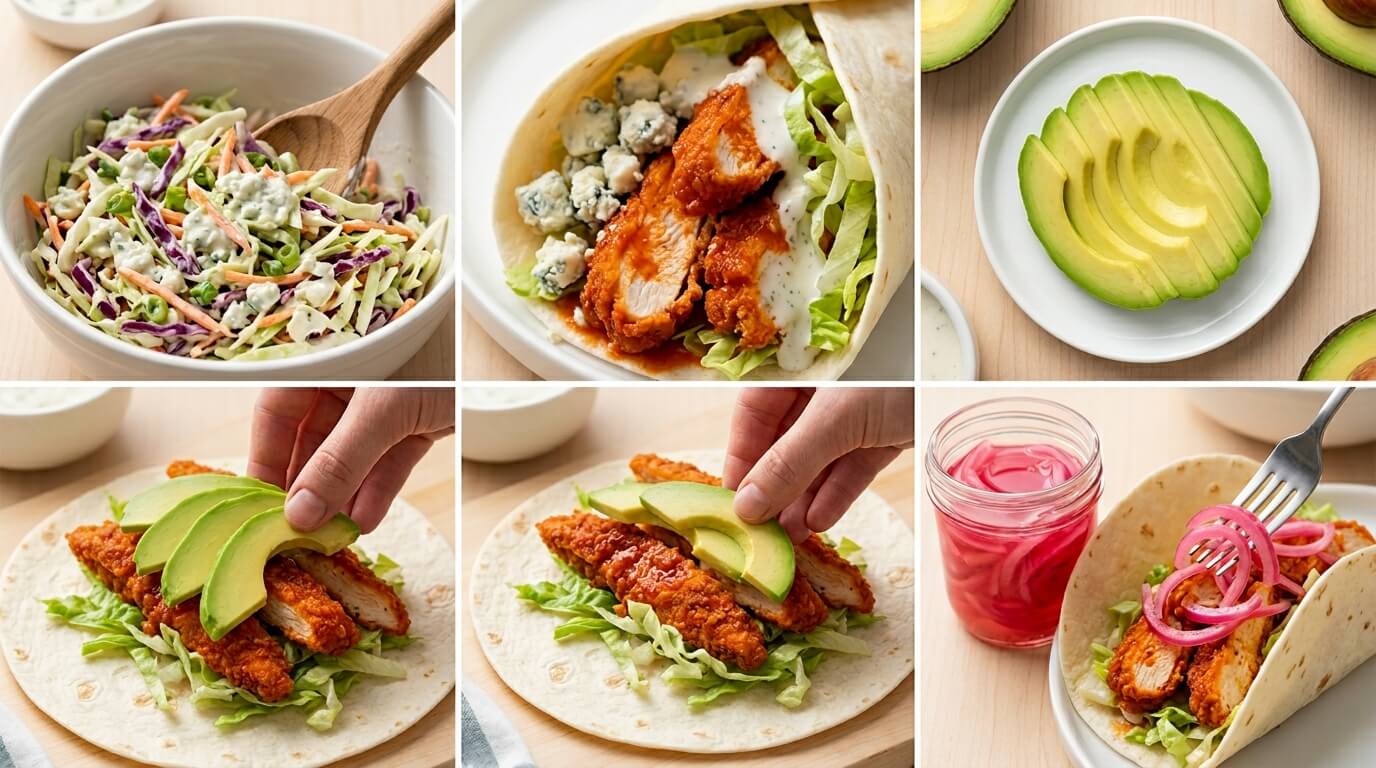
The Blue Cheese Slaw: Swap ranch for a buffalo chicken wrap with blue cheese slaw for a more authentic "Buffalo" wing flavor profile.
Avocado: Adds a "Smart Fat" creaminess that tempers the heat of the sauce.
Pickled Onions: Provides an acidic "bright" note to cut through the fried chicken oils.
Tips And Tricks
The Tortilla Warm up: Microwave the tortillas for 10 seconds before rolling. A warm tortilla is more pliable and less likely to tear.
Air Fryer Method: For air fryer crispy buffalo chicken wraps, spray the assembled wrap with oil and air fry at 375(F) for 5 minutes until crunchy.
Rotisserie Shortcut: Use shredded rotisserie chicken buffalo wraps for a lightning fast prep when you don't have time to fry chicken.
Healthy Swaps
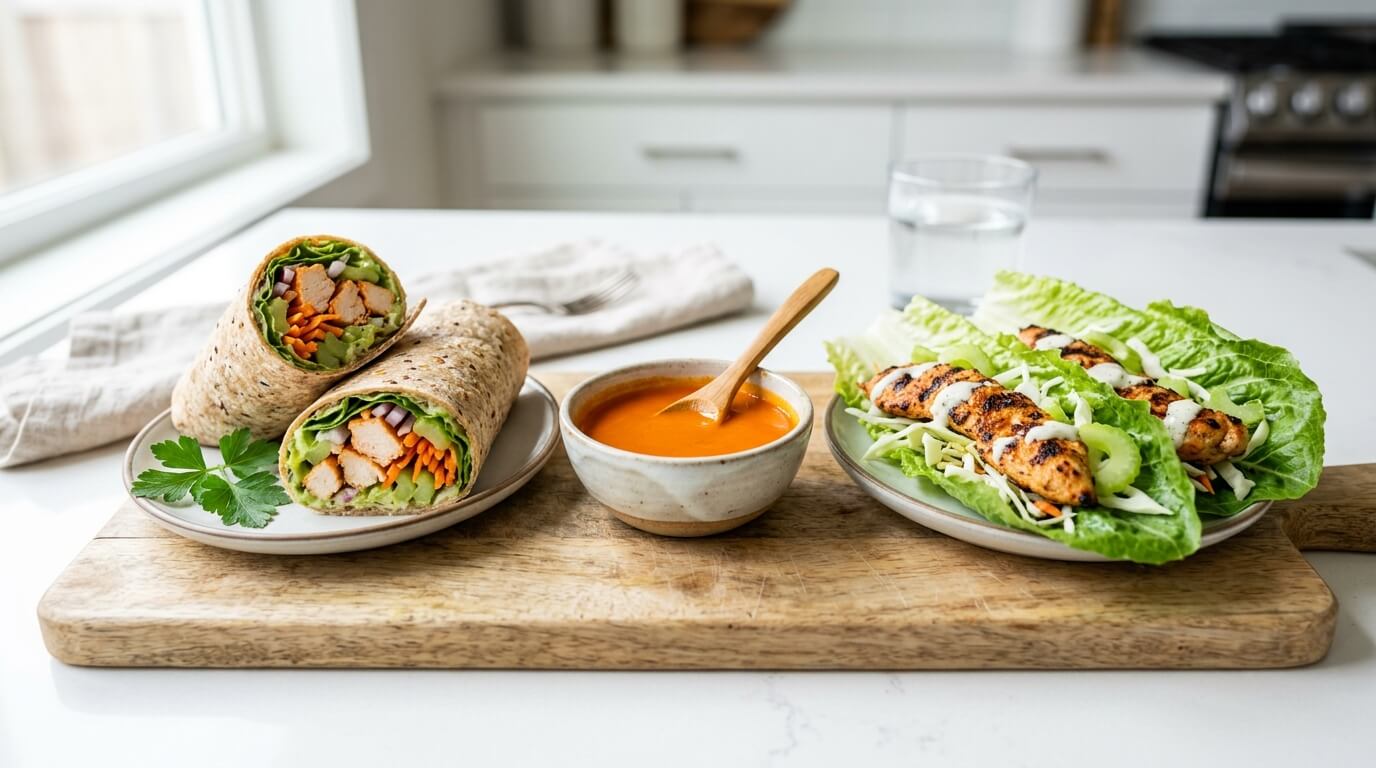
The Wrap: Use a whole wheat tortilla or keto buffalo chicken collard wraps for a low carb version.
The Sauce: Use a buffalo sauce made with avocado oil instead of butter.
The Protein: Use grilled chicken breast strips instead of fried tenders for a low carb buffalo chicken lettuce wraps style.
Variations (Optional)
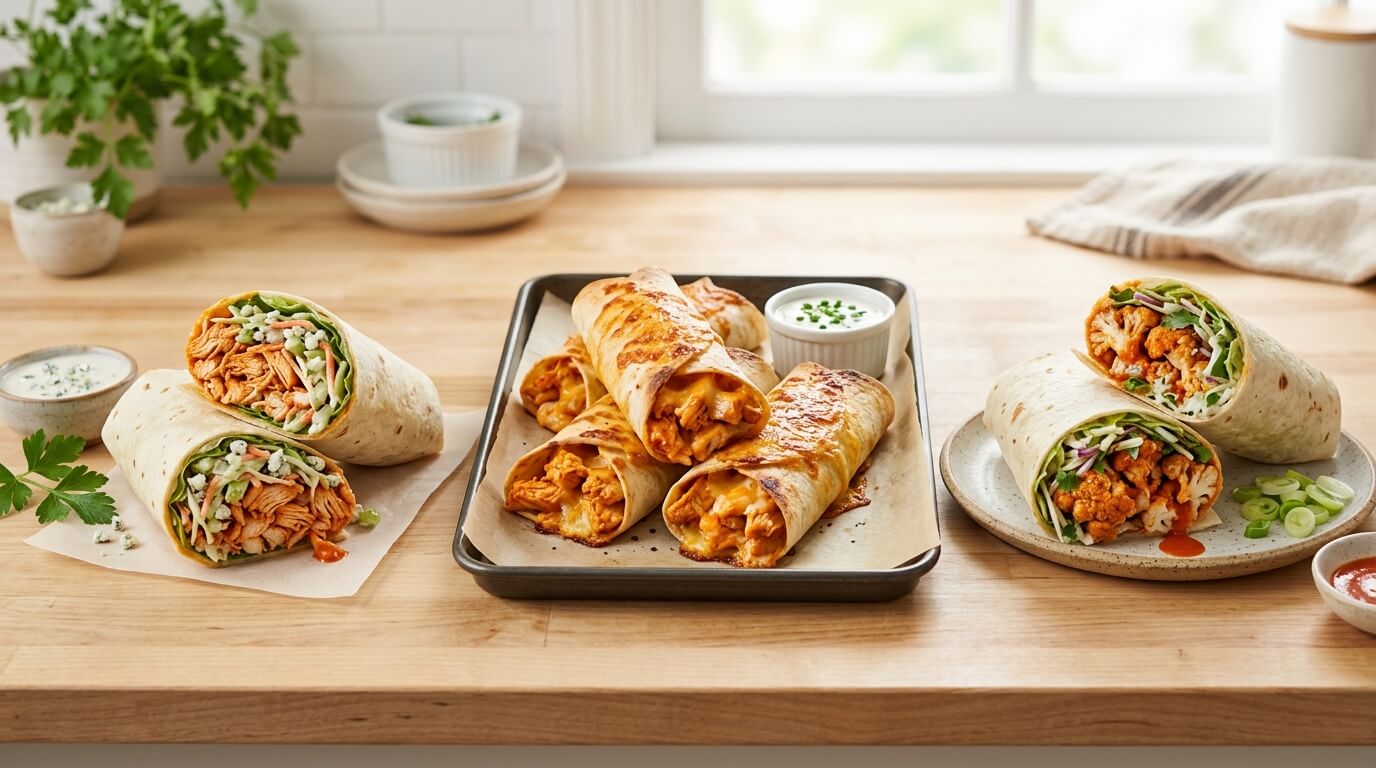
Buffalo Chicken Wrap with Blue Cheese Slaw: Mix the celery, carrots, and lettuce with blue cheese dressing before stuffing the wrap.
Oven Baked Crispy Buffalo Chicken Wraps: Brush with butter and bake at 400(F) for 10 minutes if cooking for a large group.
The "Vegetarian" Buffalo: Swap chicken for crispy buffalo cauliflower wings.
Storage, Make-Ahead & Reheating
Make-Ahead: Prep the slaw and the buffalo chicken separately. Do not assemble until you are ready to eat to maintain the crunch.
Reheating: Use an air fryer at 350°F for 3 minutes. Never use a microwave, as it will turn the tortilla into rubber.
Nutrition
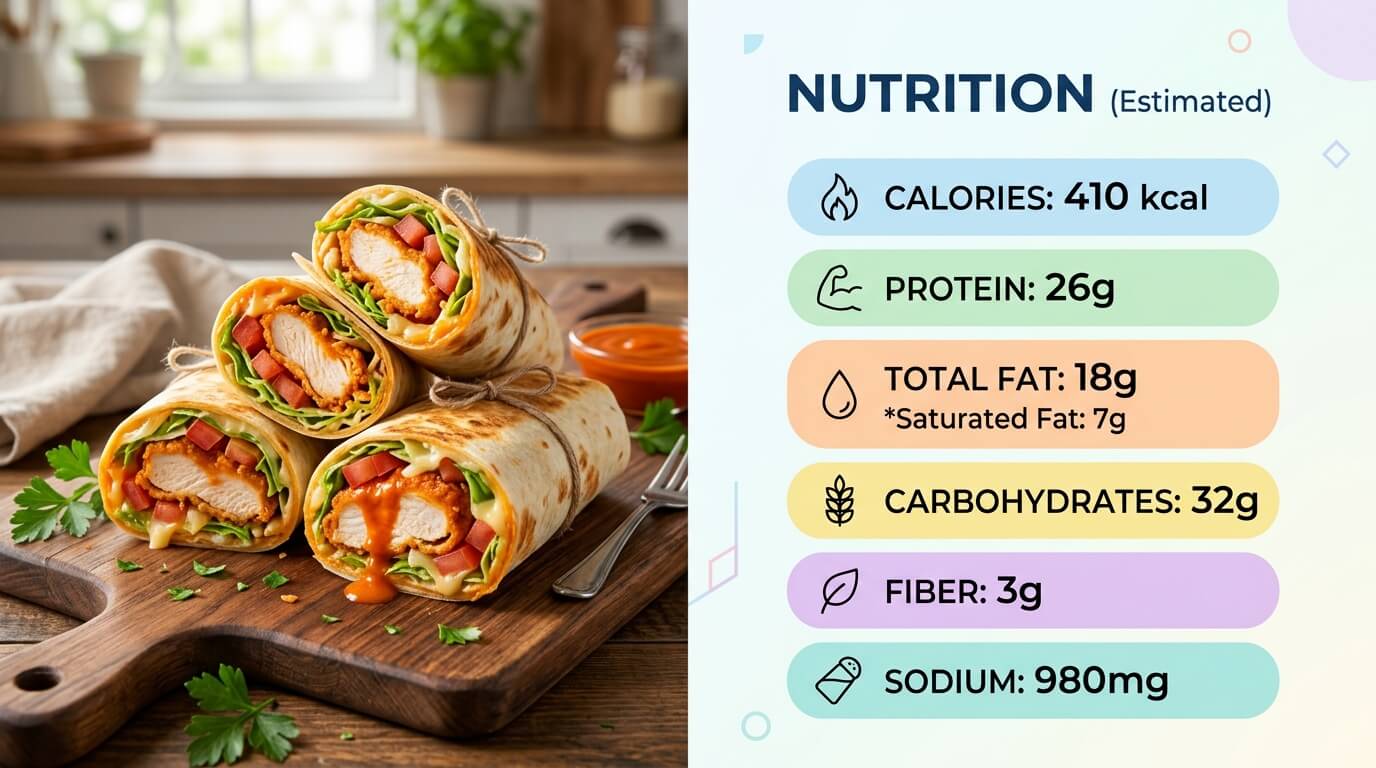
Note: Nutritional information is an automatic calculation and can vary based on exact products used. For precise values, calculate with your specific ingredients.